At a Glance
Goals
- You are able to start a public container image in Azure.
- You are able to access an exposed port of the container via an IP address.
Prerequisites
- Access to a Subscription is available.
References
This tutorial publishes a simple web server in a container. An overview of the service is provided in the service description.
Note
The container has the following characteristics:
- The image is publicly available.
- The web server is reachable on port tcp/80.
In this example, some settings are applied that may not be suitable for other container environments.
Creating the Container Instance
-
Sign in to the Portal.
-
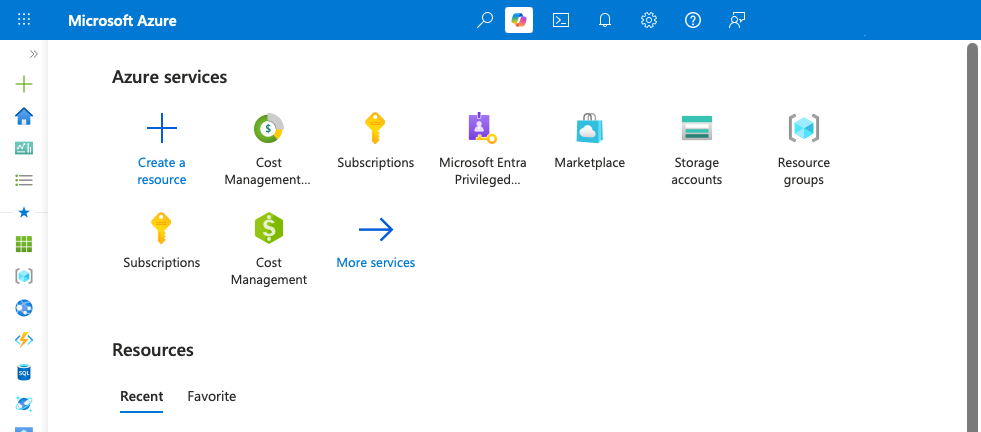
Navigate to the
Marketplace. Either typeMarketplacein the search bar and selectMarketplace, or click the central button.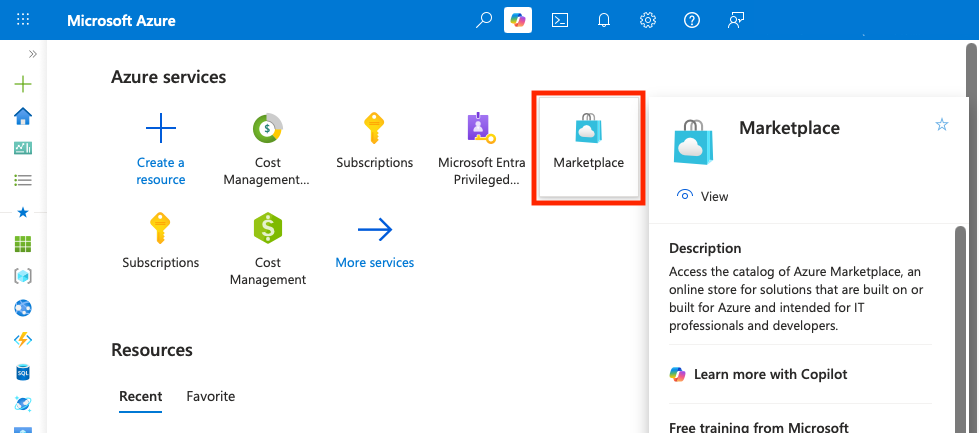
-
Enter
container-instancesin the search field. Then, in the search results, clickCreateon theContainer Instancesentry.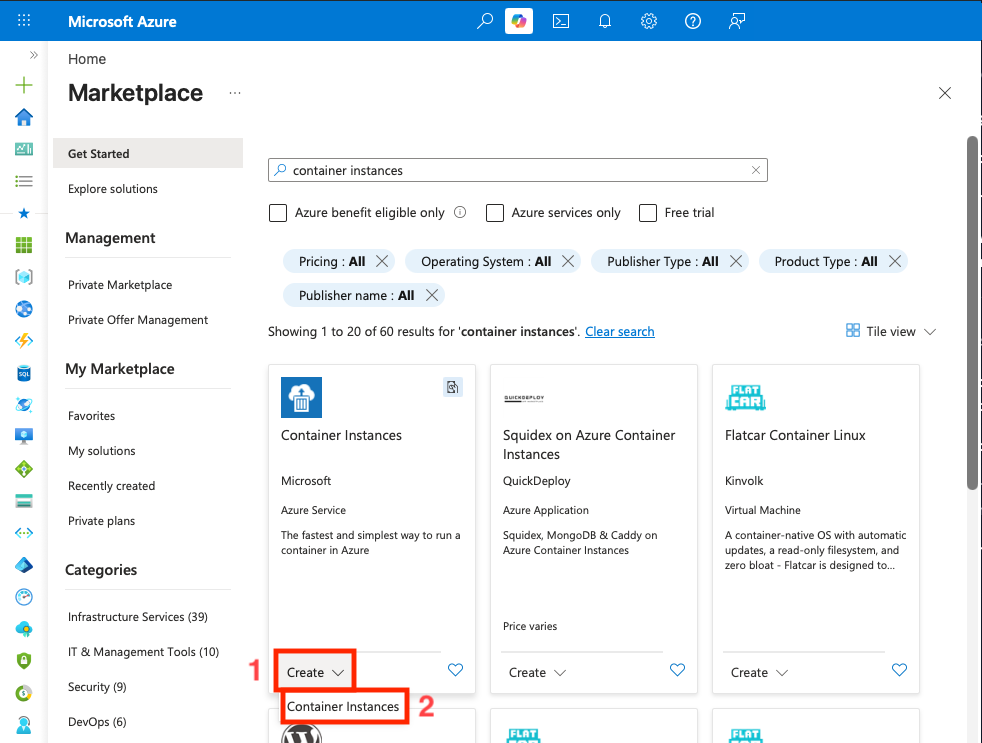
-
In the
Basicssection, set or verify the following values:Subscription: the correct Subscription.Resource group: the correct Resource Group. If no Resource Group exists yet, a new one can be created via theCreate newbutton.Container name: the name of the Container Instance.Region: the location; preferably(Europe) Switzerland North.Image source: selectOther registry.Image: the URL to the public container image.
Then click
Next: Networking.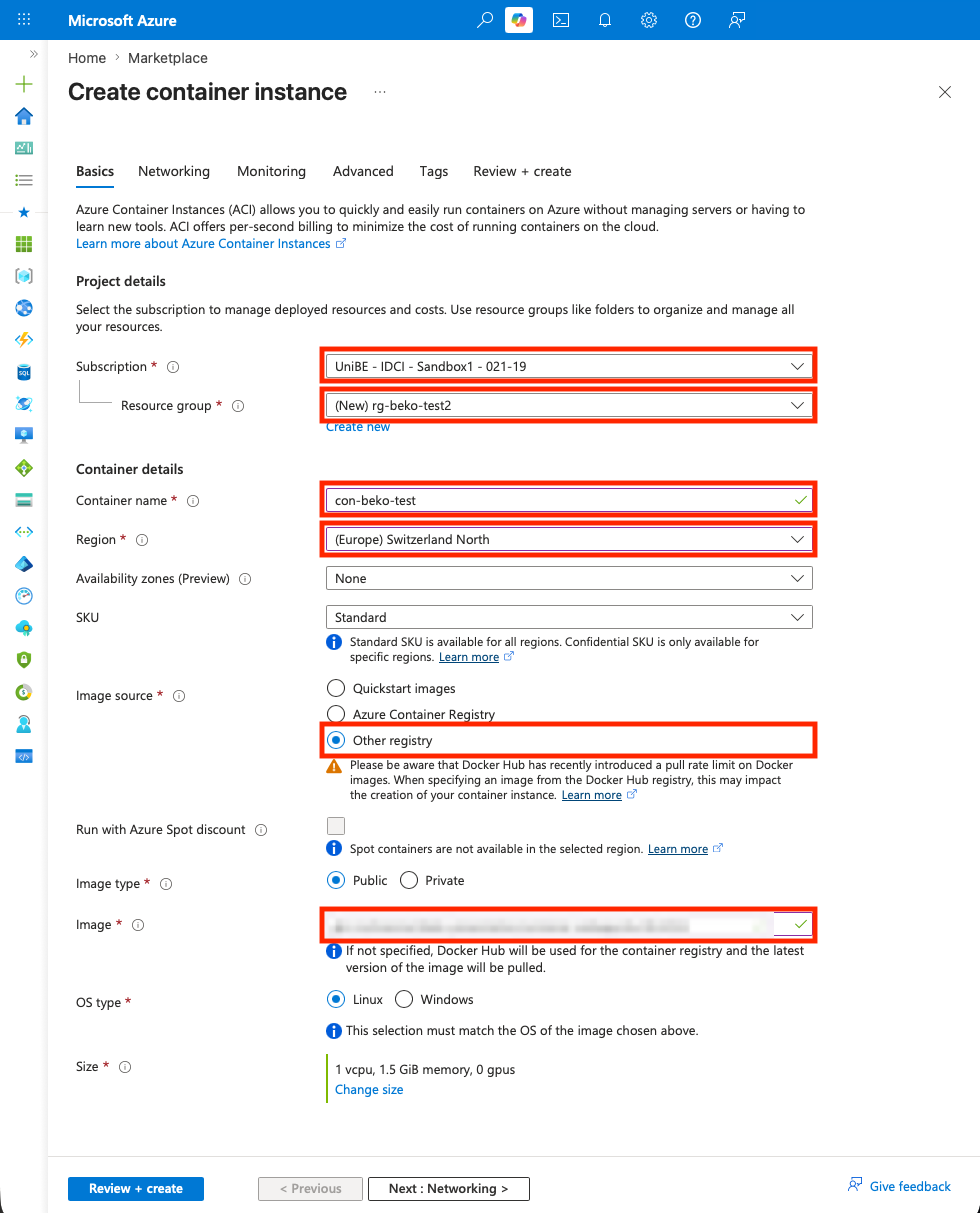
-
In the
Networkingsection, enter a DNS name for the Container Instance and verify that the correct ports are forwarded (in this example, port tcp/80).Then click
Next: Monitoring.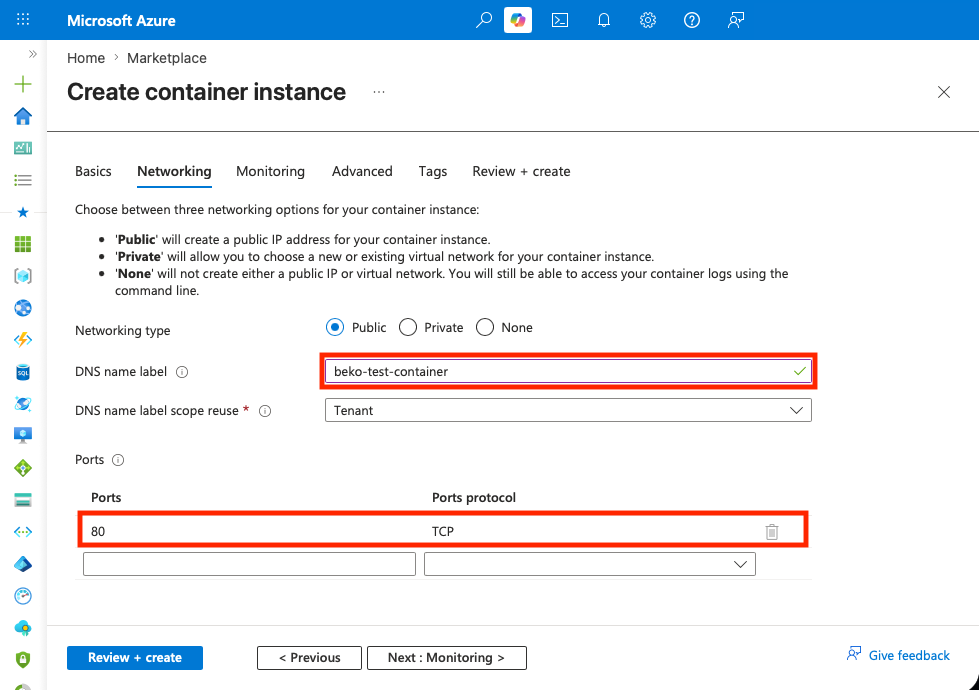
-
In the
Monitoringsection, disable theEnable container instance logoption. Then clickReview + create.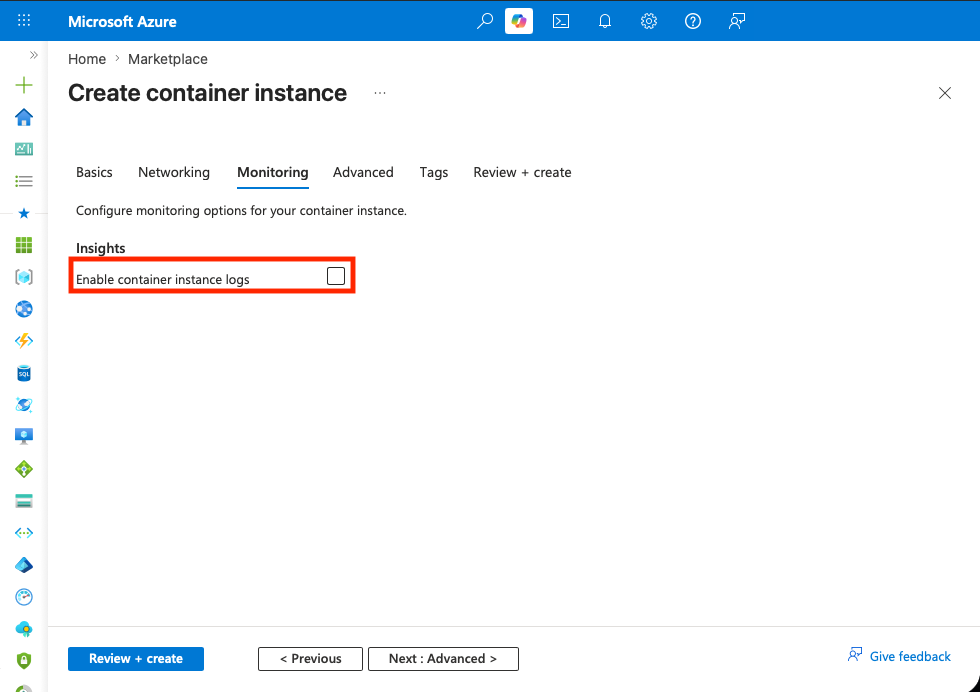
-
In the
Review + createsection, verify all entries and, if correct, clickCreate.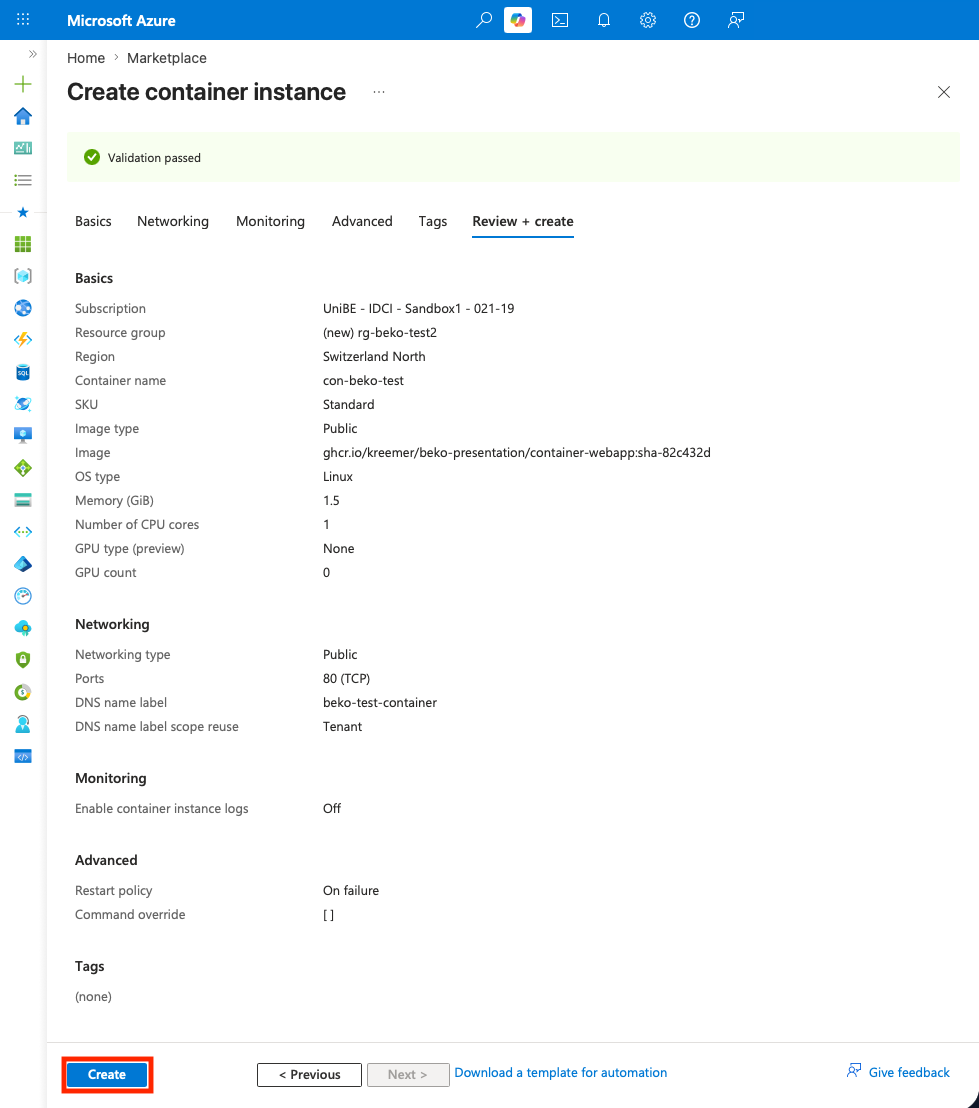
-
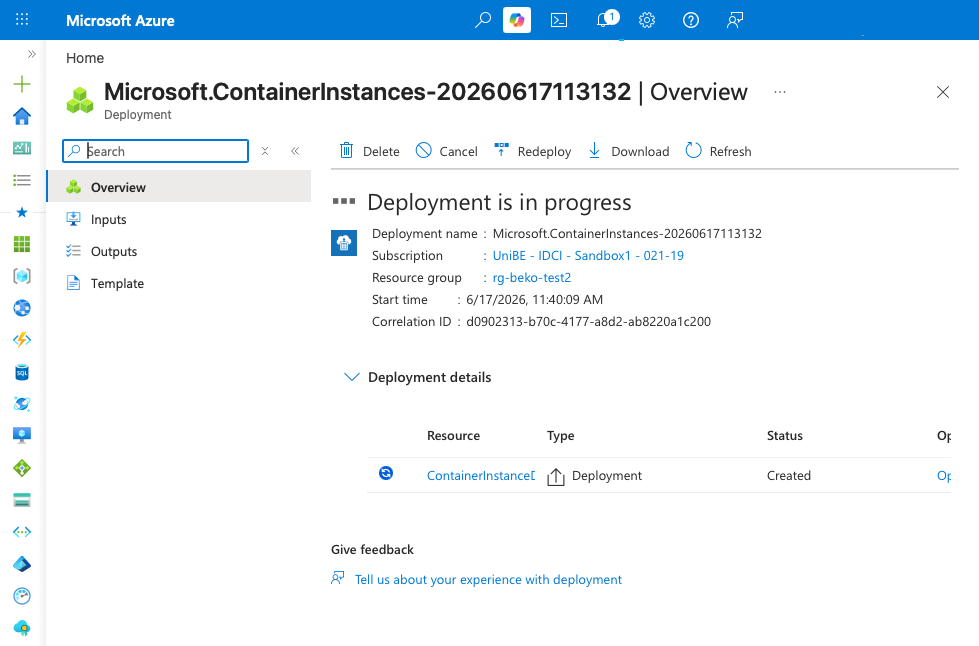
The deployment of the Container Instance can take several minutes.
-
Once the operation is complete, click
Go to resourceto switch to the new resource.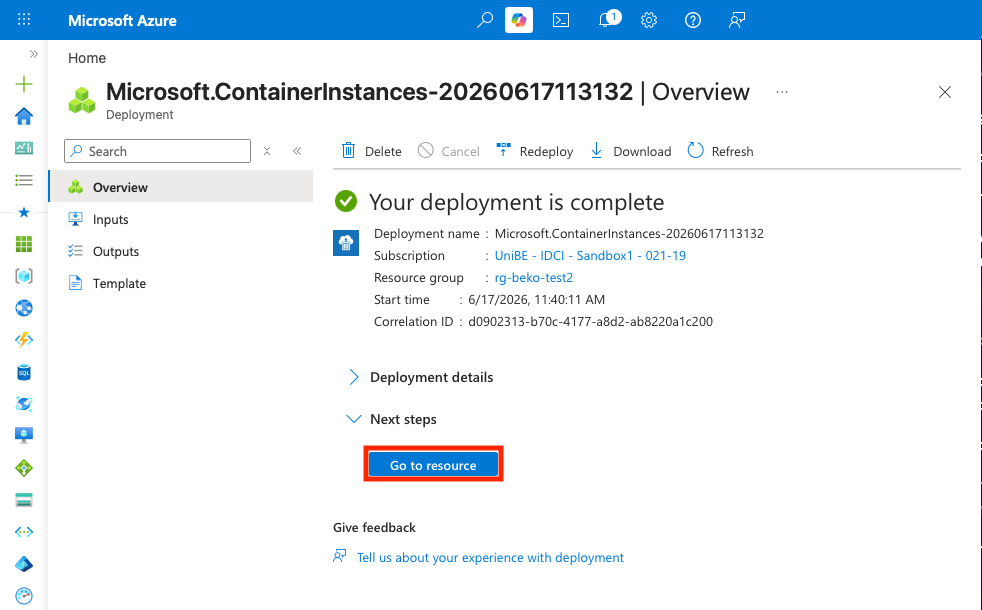
-
In the overview, verify that the container is in the
Runningstate.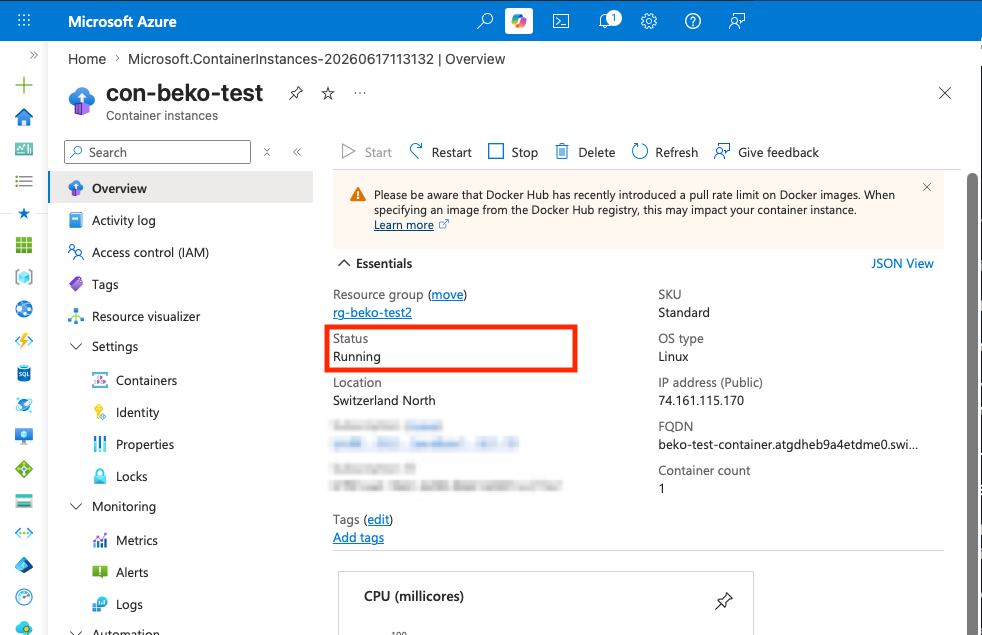
-
Copy the FQDN to the clipboard. To do so, hover over the FQDN with the mouse pointer and click the
Copy to clipboardicon.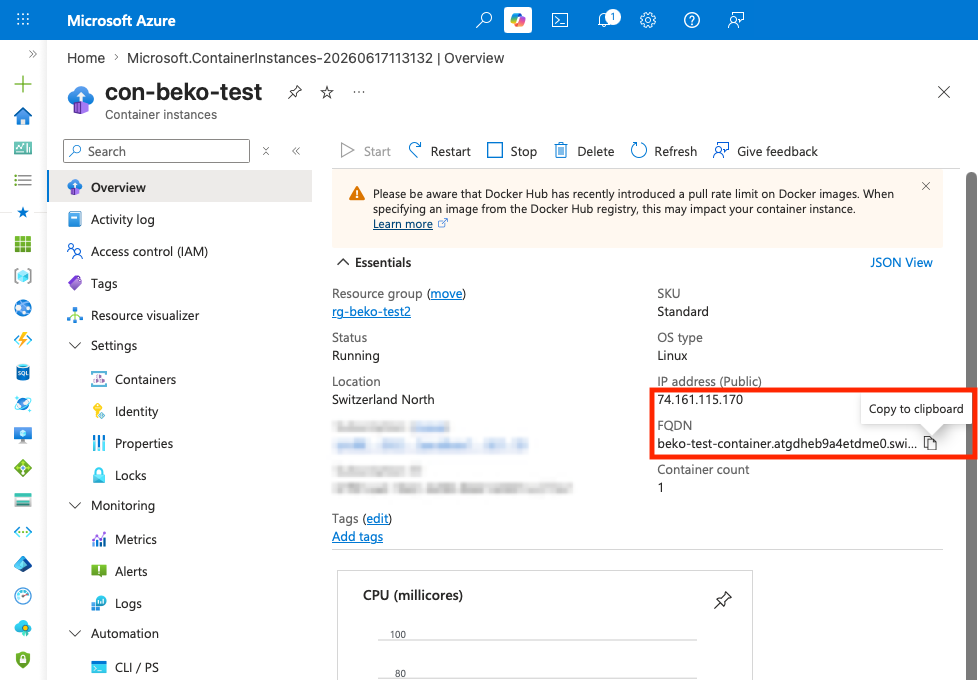
The container can then be accessed via the FQDN in a browser.
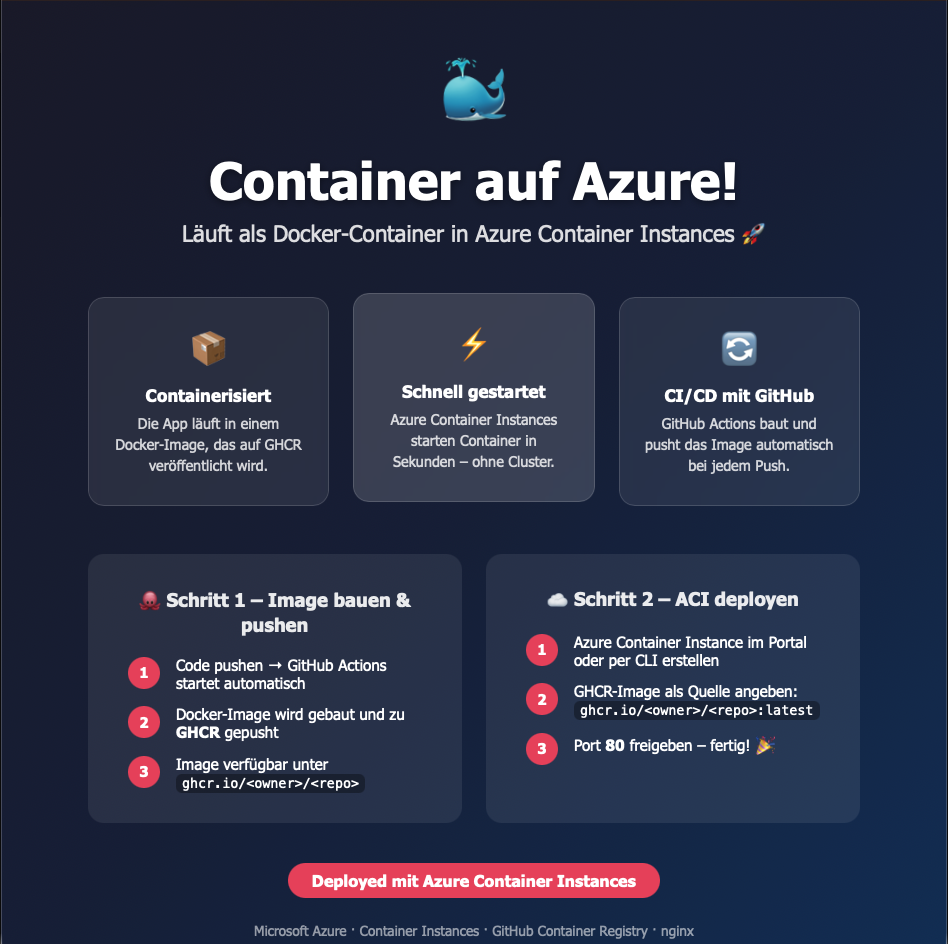
In this example, the following website was published: